


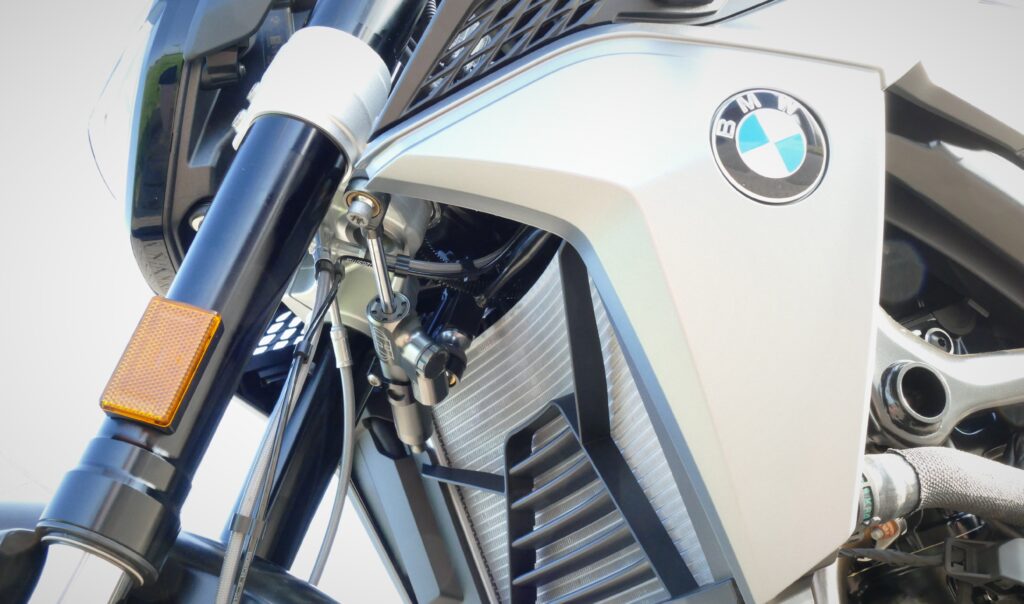
Installing a steering damper typically takes between 30 minutes and 2 hours, depending on your bike model, the type of damper, and whether you use a model-specific mounting kit. Most riders with basic mechanical skills and the right tools can complete the job in under an hour when a plug-and-play kit is available for their motorcycle.
The biggest variable is fitment. A bike-specific mounting kit eliminates guesswork and significantly cuts down installation time, while a universal setup may require additional measuring, drilling, or bracket fabrication. The sections below break down every factor that influences how long the job actually takes.
What affects how long a steering damper installation takes?
The main factors that affect steering damper installation time are the type of mounting kit used, your familiarity with the bike’s front end, and whether any parts need to be removed to access the mounting points. A straightforward bolt-on installation on a well-documented bike model can take as little as 30 minutes, while a custom or universal fitment may stretch to two hours or more.
Here are the key variables that influence how long the job takes:
- Mounting kit type: Model-specific kits are designed to bolt directly onto existing frame points, requiring no modification. Universal kits often need adjustments to fit correctly.
- Damper style: Rotary and linear dampers have different mounting geometries, which affects how complex the bracket setup is.
- Bike access: Some motorcycles require removing fairings, handlebars, or other components before you can reach the triple clamp or frame mounting points.
- Installer experience: A rider who has done the job before will work significantly faster than someone tackling it for the first time.
- Tool availability: Having the right torque wrench, hex keys, and Allen sockets ready before you start saves considerable time.
How long does a rotary steering damper take to install versus a linear one?
A rotary steering damper generally takes slightly longer to install than a linear damper because its mounting geometry is more complex. A rotary unit mounts at the top of the triple clamp and requires precise alignment of the rotating arm with the steering axis. A linear damper mounts horizontally between the frame and a bracket on the fork leg or triple clamp, which is often a more straightforward bolt-on process.
In practice, the difference in time is usually 15 to 30 minutes rather than hours. Both types benefit enormously from a model-specific mounting kit. When the brackets are pre-engineered for your exact bike, the alignment work is already done for you, and the installation process becomes a matter of following a clear sequence of steps rather than solving a geometry puzzle.
If you are deciding between the two styles, the choice should be based on your riding needs and bike compatibility rather than installation time alone. Hyperpro’s steering damper range includes both linear and rotary options, each with adjustable damping to suit different riding styles and conditions.
Hyperpro
Ride with confidence
Find the nearest Hyperpro dealer and start your motorcycle upgrade.
Can you install a steering damper without a mechanic?
Yes, most riders with intermediate mechanical skills can install a steering damper without a professional mechanic, provided they use a model-specific mounting kit and follow the manufacturer’s instructions carefully. The job does not require specialist workshop equipment, and no welding or frame modification is needed in the vast majority of cases.
That said, there are situations where professional help is worth considering:
- If your bike requires significant disassembly to access the mounting points
- If you are using a universal kit that needs custom bracket positioning
- If you are unsure about the correct torque settings for the mounting hardware
- If the damper needs to be calibrated or adjusted after fitting to suit your riding style
Getting the installation right matters beyond just saving time. A poorly mounted steering damper can interfere with full steering lock, create unwanted tension, or come loose under vibration. If you have any doubt about a step, consulting a dealer or experienced mechanic is the right call.
What tools do you need to install a steering damper?
The tools required for a steering damper installation are straightforward and found in most home garages. You will typically need a set of Allen keys or hex sockets, a torque wrench, open-ended spanners in common metric sizes, and thread-locking compound for the mounting bolts. Some bikes may also require a Torx bit set to remove fairings or handlebar covers.
A complete tool list for most installations includes:
- Metric Allen key set (typically 4 mm to 10 mm)
- Torque wrench with a range suitable for M6 to M10 bolts
- Metric spanner set
- Thread-locking compound (medium strength)
- Torx bit set (if fairing removal is needed)
- Bike-specific service manual or mounting kit instructions
Having everything laid out before you start is one of the simplest ways to reduce installation time. Stopping mid-job to search for a tool adds unnecessary delay and increases the chance of losing track of where you were in the process.
Does a bike-specific mounting kit reduce installation time?
Yes, a bike-specific mounting kit significantly reduces installation time compared to a universal bracket system. When the mounting hardware is CNC-machined to fit your exact model, you skip the measuring, test-fitting, and bracket adjustment that a generic kit requires. In most cases, a plug-and-play kit cuts the installation time roughly in half.
Model-specific kits also eliminate two of the most common sources of delay: drilling and alignment uncertainty. Because the brackets are pre-engineered to match your bike’s existing bolt holes and frame geometry, no drilling or cutting is needed in the overwhelming majority of applications. The damper sits in the correct position from the moment you bolt it on, which means less time spent adjusting and more confidence that the fitment is correct.
Beyond time savings, a purpose-built kit also reduces the risk of errors. When every component is designed to work together on your specific motorcycle, there is far less room for misalignment or improper contact with other parts. You can browse available mounting kits to find the right fit for your bike before you begin.
What can go wrong during a steering damper installation?
The most common problems during a steering damper installation are incorrect alignment, restricted steering lock, over-tightened or under-tightened fasteners, and interference with existing cables or brake lines. Most of these issues are avoidable with careful preparation and by following the mounting kit instructions precisely.
Here is what to watch for at each stage:
- Restricted steering lock: If the damper body or mounting arm is positioned incorrectly, it can physically prevent the handlebars from reaching full lock. Always check steering movement in both directions before considering the job complete.
- Cable or hose interference: A damper that sits too close to a brake line, throttle cable, or wiring harness can cause dangerous rubbing or snagging during steering. Route cables carefully and check clearance at full lock in both directions.
- Loose fasteners: Under-tightened bolts will work loose under vibration. Always use the specified torque values and apply thread-locking compound where recommended.
- Over-tightening: Excessive torque on aluminum mounting points can strip threads or crack brackets. Use a torque wrench rather than relying on feel.
- Incorrect damper preload: Setting the damping too stiff from the start can make the steering feel heavy and unresponsive. Start with a mid-range setting and adjust from there once you are back on the road.
Taking an extra ten minutes to double-check alignment, cable clearance, and fastener torque at the end of the job is far less costly than discovering a problem at speed.
How Hyperpro helps with steering damper installation
We design our steering dampers and mounting kits specifically to make the installation process as straightforward as possible, whether you are fitting a CSC linear damper or an RSC progressive model. Here is what we offer to support a clean, confident installation:
- 22-position adjustable damping on both CSC and RSC models, so you can fine-tune the feel after fitting without specialist tools
- CNC-milled model-specific mounting kits in Hyperpro Gold or Black, engineered as direct bolt-on fitments for your exact bike
- No drilling or cutting required in 98% of applications, which removes the most common source of installation errors
- Plug-and-play design that aligns with existing frame and triple clamp bolt holes, reducing fitting time significantly
Purchases are available through our authorized distributor network. If you have questions about which damper or mounting kit suits your bike, contact us and we will point you in the right direction.